Wednesday, May 28, 2014

Patio Gardening - Preventing Aphids

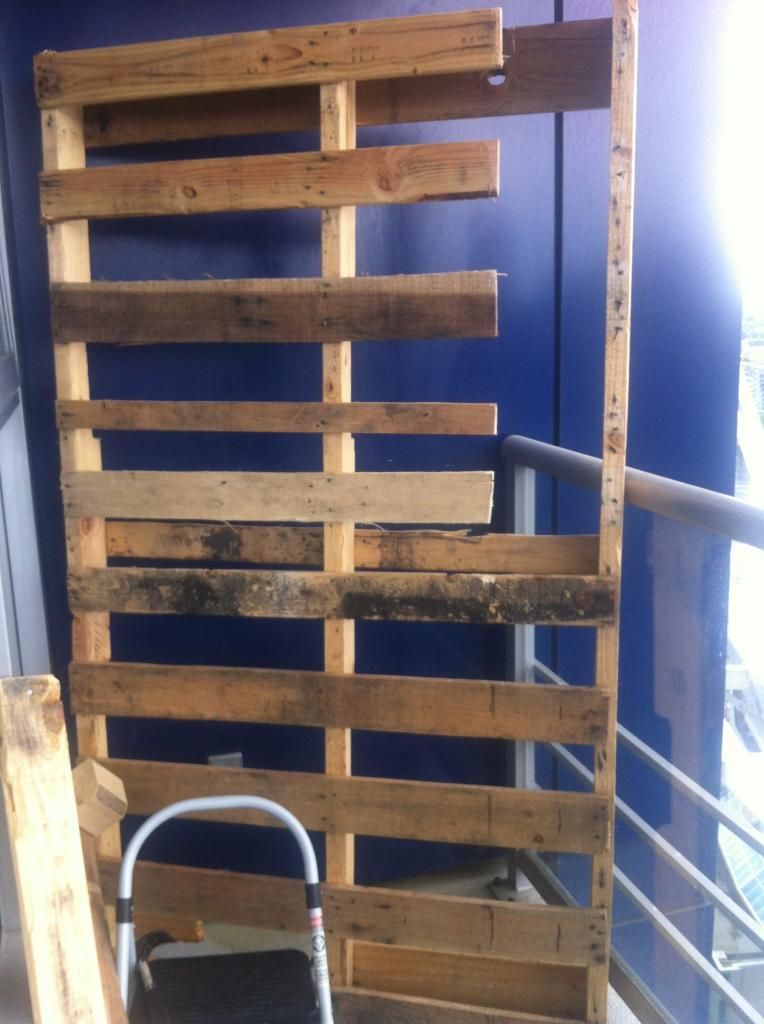
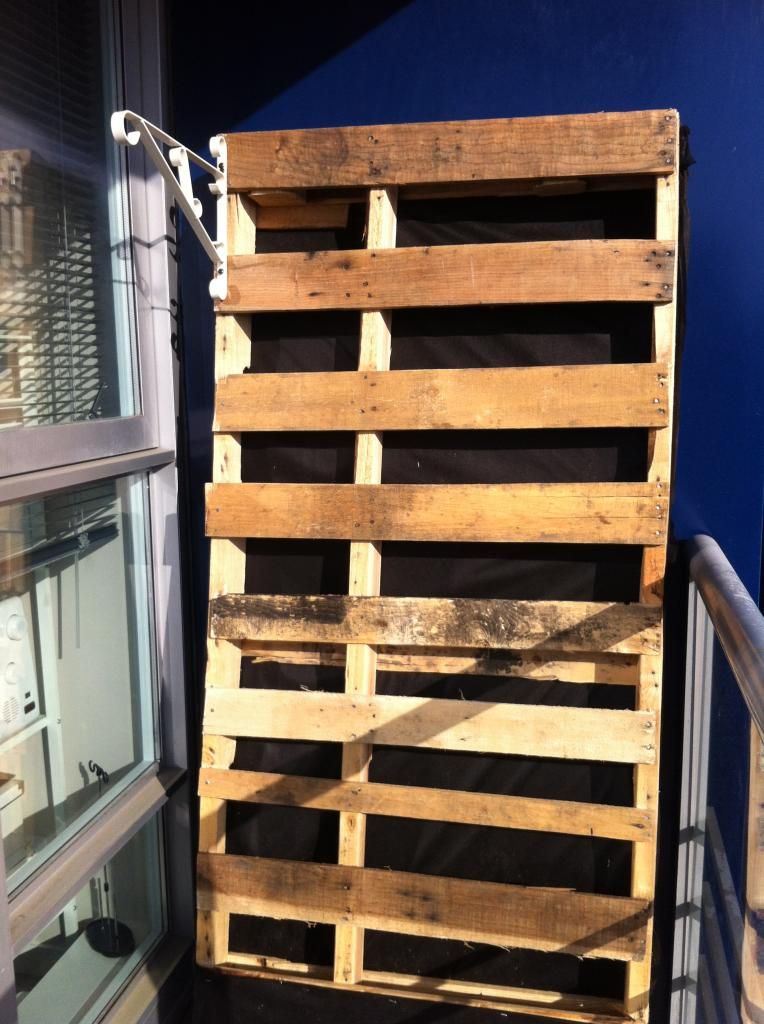
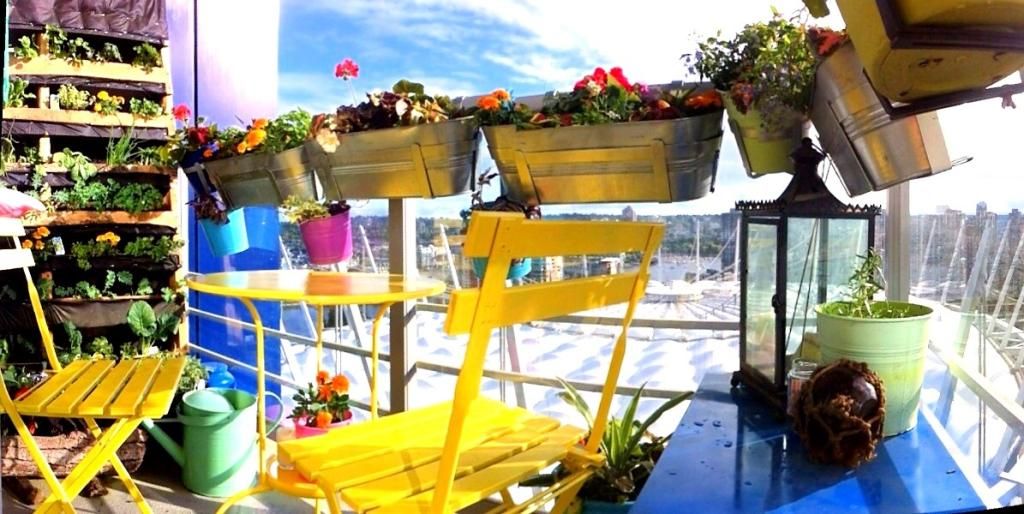
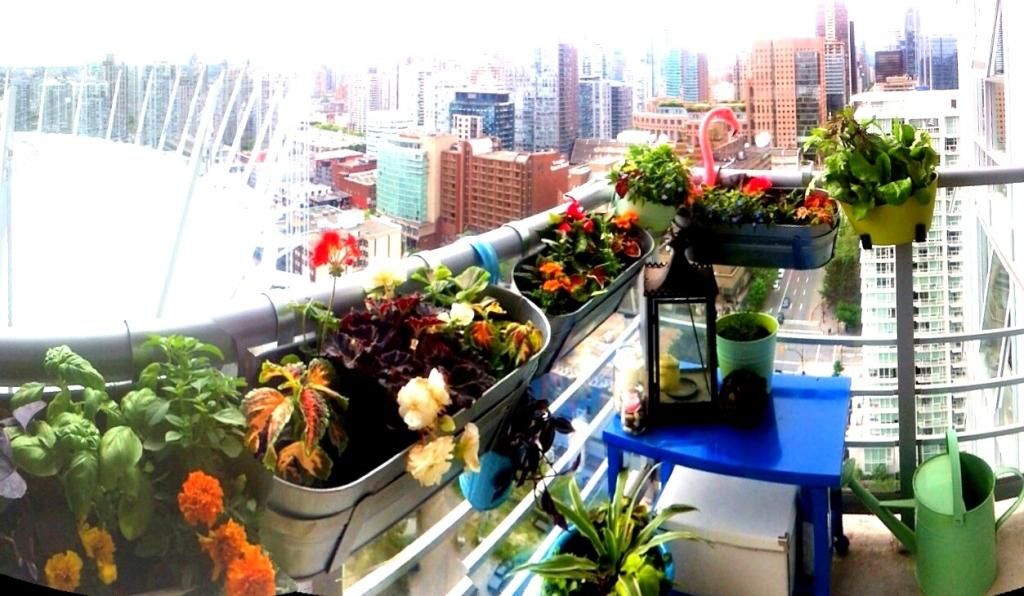
My garden has been in place for almost a month and so far so good.  I've been harvesting the salad greens on a regular basis and my flowering plants are coming along nicely.

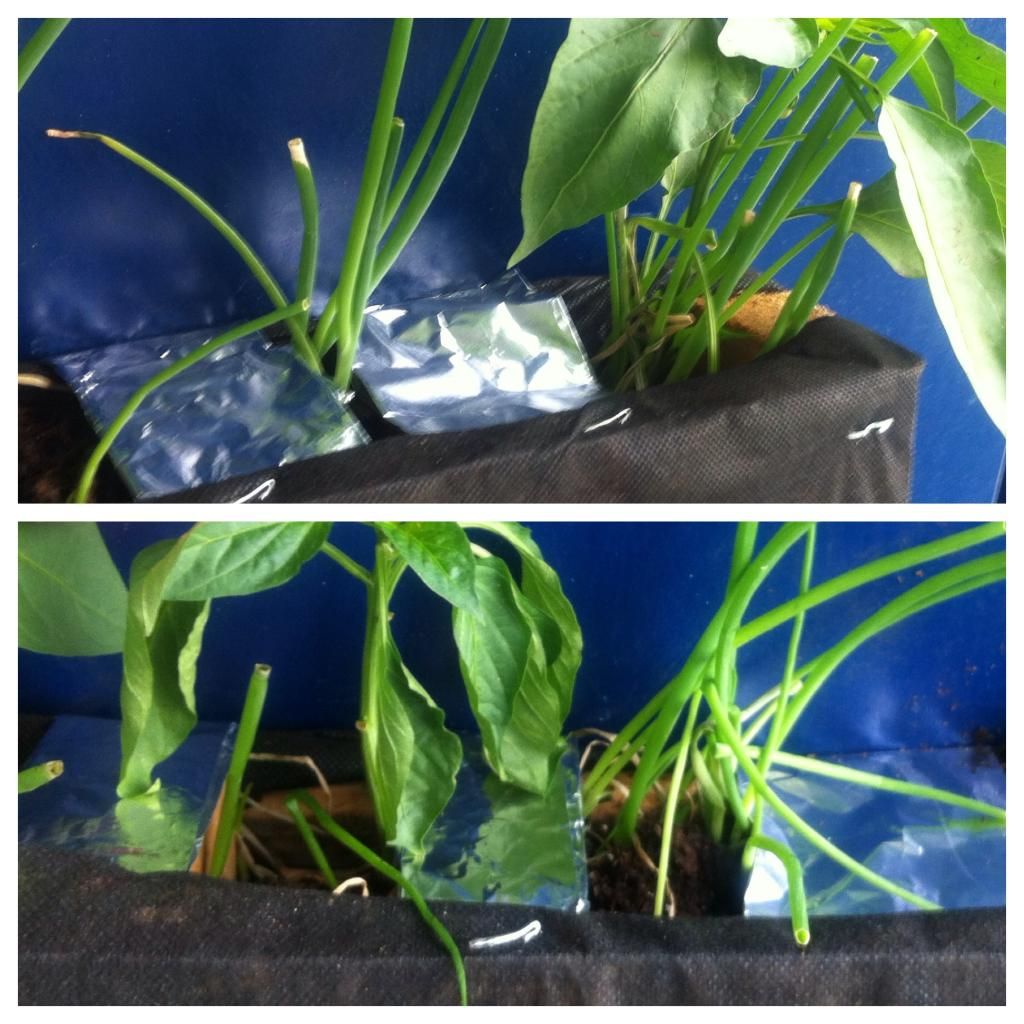
There have been two (possibly three) casualties:  I wasn't feeling too confident in the condition of my italian flat leaf parsley so I pulled it up and added a kale plant instead.  The second plant death was one of my peppers.  I'm not sure what kind it is but there's one next to it that is likely the same type and it is also not happy.  I feel I may be overwatering - however, the other two pepper plants are thriving.  When I pulled up the saddest one of the crew I noticed some rot at the bottom and the base just snapped.  The leaves had been wilting with just the touch or shake of the stalk.  
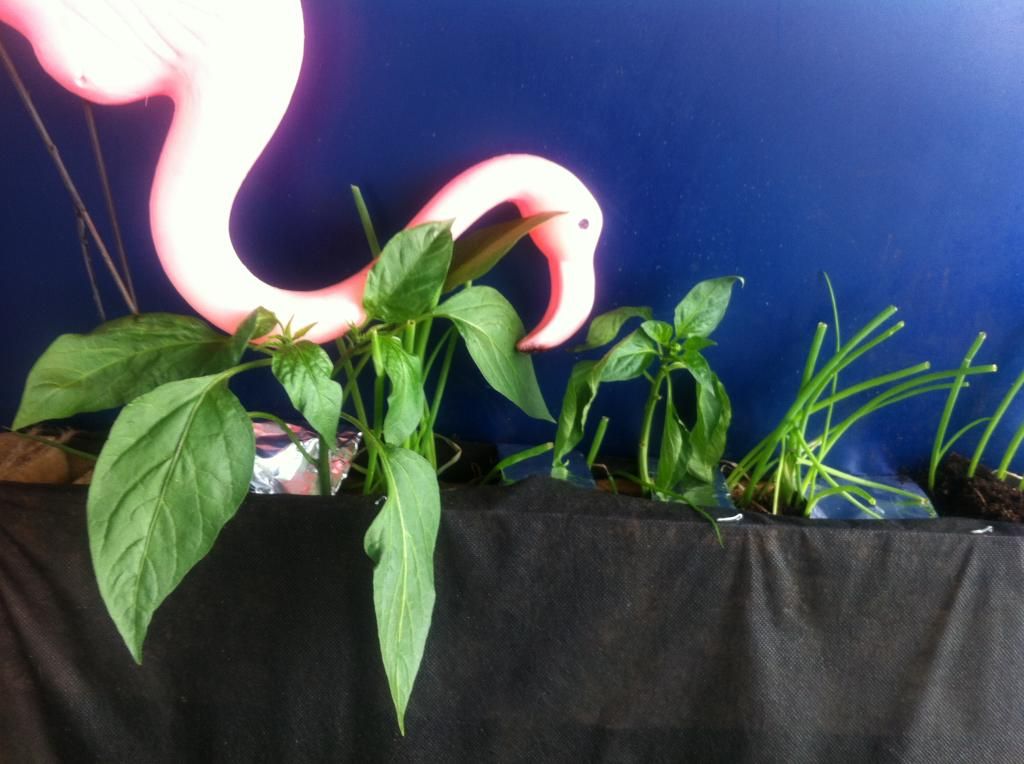
I don't know what's going on with the little dude on the left.  I already lost one, today, because I noticed some rot on the base.  Gonna dry out the soil and see what happens.
I have been doing regular inspection for aphids and while they are present I've been able to catch them before they really set up shop and do some serious damage.  

I read in a couple of different forums and in the book "Mulch It!" that reflective mulch has been an effective deterrent for pests like aphids.  Melinda Meyers noted that aphids orient themselves to the sky and the reflection from the foil confuses them and they crash and die.  Perfect.  Reflective mulch has been related to boosting fruit sizes and yields, according to studies compiled by the writers from Grower.com.  Result in test plots impacted not only the size and the yield but also the fruit set up to 25%.

Here's what I decided to do:
I cut several strips of aluminum foil and folded it in half twice so it was sturdy.  While I didn't pull the plants through the aluminum cover I attached strips across the top and tucked the ends into the edge.  Attaching this way will also make it easier for me to remove it when the season is over or if this tactic isn't successful.  

One thing that has been cautioned is that if it gets really hot it may "cook" the plants.  I'll have to keep an eye open for this but luckily the aluminum covers are easy to remove.

Saturday, May 17, 2014

How to make a Pallet Garden


This is the year that I'm going to get into this vertical gardening fad.  This tutorial is for planting seedlings and your plants rather than growing straight from the seed.

At first I was going to attach two square sized pallets together because I wanted to grow tomatoes and peppers at a higher elevation since they need more sun.  But one day while I was leaving the parkade at work and spotted the most beautiful thing:  a 7 foot pallet.

So I get it home and you know what????? It's 20 cm too wide for my patio!  NOOOOOOOO!!!!!  So out come the tools.  I had to trim the sides and nail it together again.
You have got to be kidding me!
I also had to add more slats to the back for reinforcement and an additional one at the top and the bottom to create a larger box for plants that have a more complicated root system.

First thing you want to ask yourself is "what kind of pallet garden will I be making?"
  1. With boxes between the slats that you have to create yourself with landscaping fabric
  2. Without the boxes and just fill the entire pallet with soil
    • With this method fill the pallet with soil and then plant your veggies and flowers.  You need  keep the pallet lying flat and wait at least 2 weeks for the roots to settle in before you push the pallet upright.  But I don't the patience or the room to maneuver this so I went with Option 1, which is what I will cover in this tutorial
Here's what you'll need to turn the pallet into a vertical garden box:
  1. Roll of landscaping fabric - it's super cheap, about $8.00 and you'll have enough to spare for your pots and plant boxes.  It's available at any home improvement and gardening store.
  2. Staple gun - I have the cordless Arrow CT50 staple gun.  
  3. Hammer - to reinforce some of those staples that didn't go all the way down.  
  4. 3.5 bags of 23 litres of soil (or about 2 bags for a regular sized pallet)
Creating your pallet garden box:
I wrapped some landscaping fabric on the bottom to close it up.  

Next I made little pockets with the landscaping fabric between each slat.  You'll be putting soil into these pockets so make sure you staple them in there nice and tight.  If your staples are not all the way in the wood it leaves space for the fabric to tear under the weight.  Grab that hammer and show that staple who's boss.

Once you've finished your pockets you need to turn it around and cover the back.  I also added a plant hook on the side because I wanted to try out a Topsy Turvy this year.  

Placing plants in the palette garden box:
It's really important to plan out where you're going to put things.  Here's a sketch I made a while ago but I re did it about 5 times afterwards until I was happy with the over all scheme:

Watering your plants in a pallet garden:
If you take the route that I did with the pockets you don't have to worry so much about uneven watering.  However, if you go with Option 2 and decide just to fill the pallet up with soil, you do risk the top drying out a lot faster than the other tiers because the water runs straight down to the bottom.  

How much and how often you will need to water will depend on how much sun or shade you have, what kind of plants you have, and how you've arranged them.  Make sure to follow the instructions on the plant cards and follow the advice from experienced gardeners.  

Some tips for planning your garden:
  1. Do your research
    • How much shade and sun does your space have?  Plants that require lots of sun (like tomatoes, peppers, basil, and most flowers) should go in the top tiers.  If they require lots of space, make sure you adjust your pockets.  The bottom tiers are best for plants that like shade (hostas, kale, salad greens, broccoli, and rosemary).
  2. For the first week, leave a matt at the bottom of the pallet.  The soil is still settling in and it might drip down when you water your plants and this will create a hot mess.  Trust me, I know.
  3. Leave at least 1 inch of space from the top of the pocket when you're adding soil or else the water will just run right off and down to the ground.
Good luck and happy gardening.


Thursday, May 15, 2014

Patio Garden

After two years of moving around right in the middle of gardening season I'm ready to roll up my sleeves, dig into the soil, and grow stuff.

Here are some goals for the 2014 seasons:

  1. Keep it simple
    • Since it's been a while since I've gardened I stuck to plants that I've had success with.  No petunias or plants that turn into aphid farms
  2. Grow vertically
    • I've created a vertical garden with a pallet.  The pallet garden is a smart way (instructions coming up soon) to free up space for lounging
  3. Think organic
    • I created my own compost tea, organic insecticide, and organic fertilizer
  4. Space to relax
    • Adding a bistro set so I can enjoy the view and my garden
Here are some pics of what I've done so far and a break down of how and what I've down will come in the next couple of weeks:


Here's a close up of the pallet garden I created:


And check out my view.  Vancouver is a beautiful city.

Patio garden at night:


I'm looking forward to the plants growing and to create different shapes and lines.  Tons of DIY tutorials to share coming up.